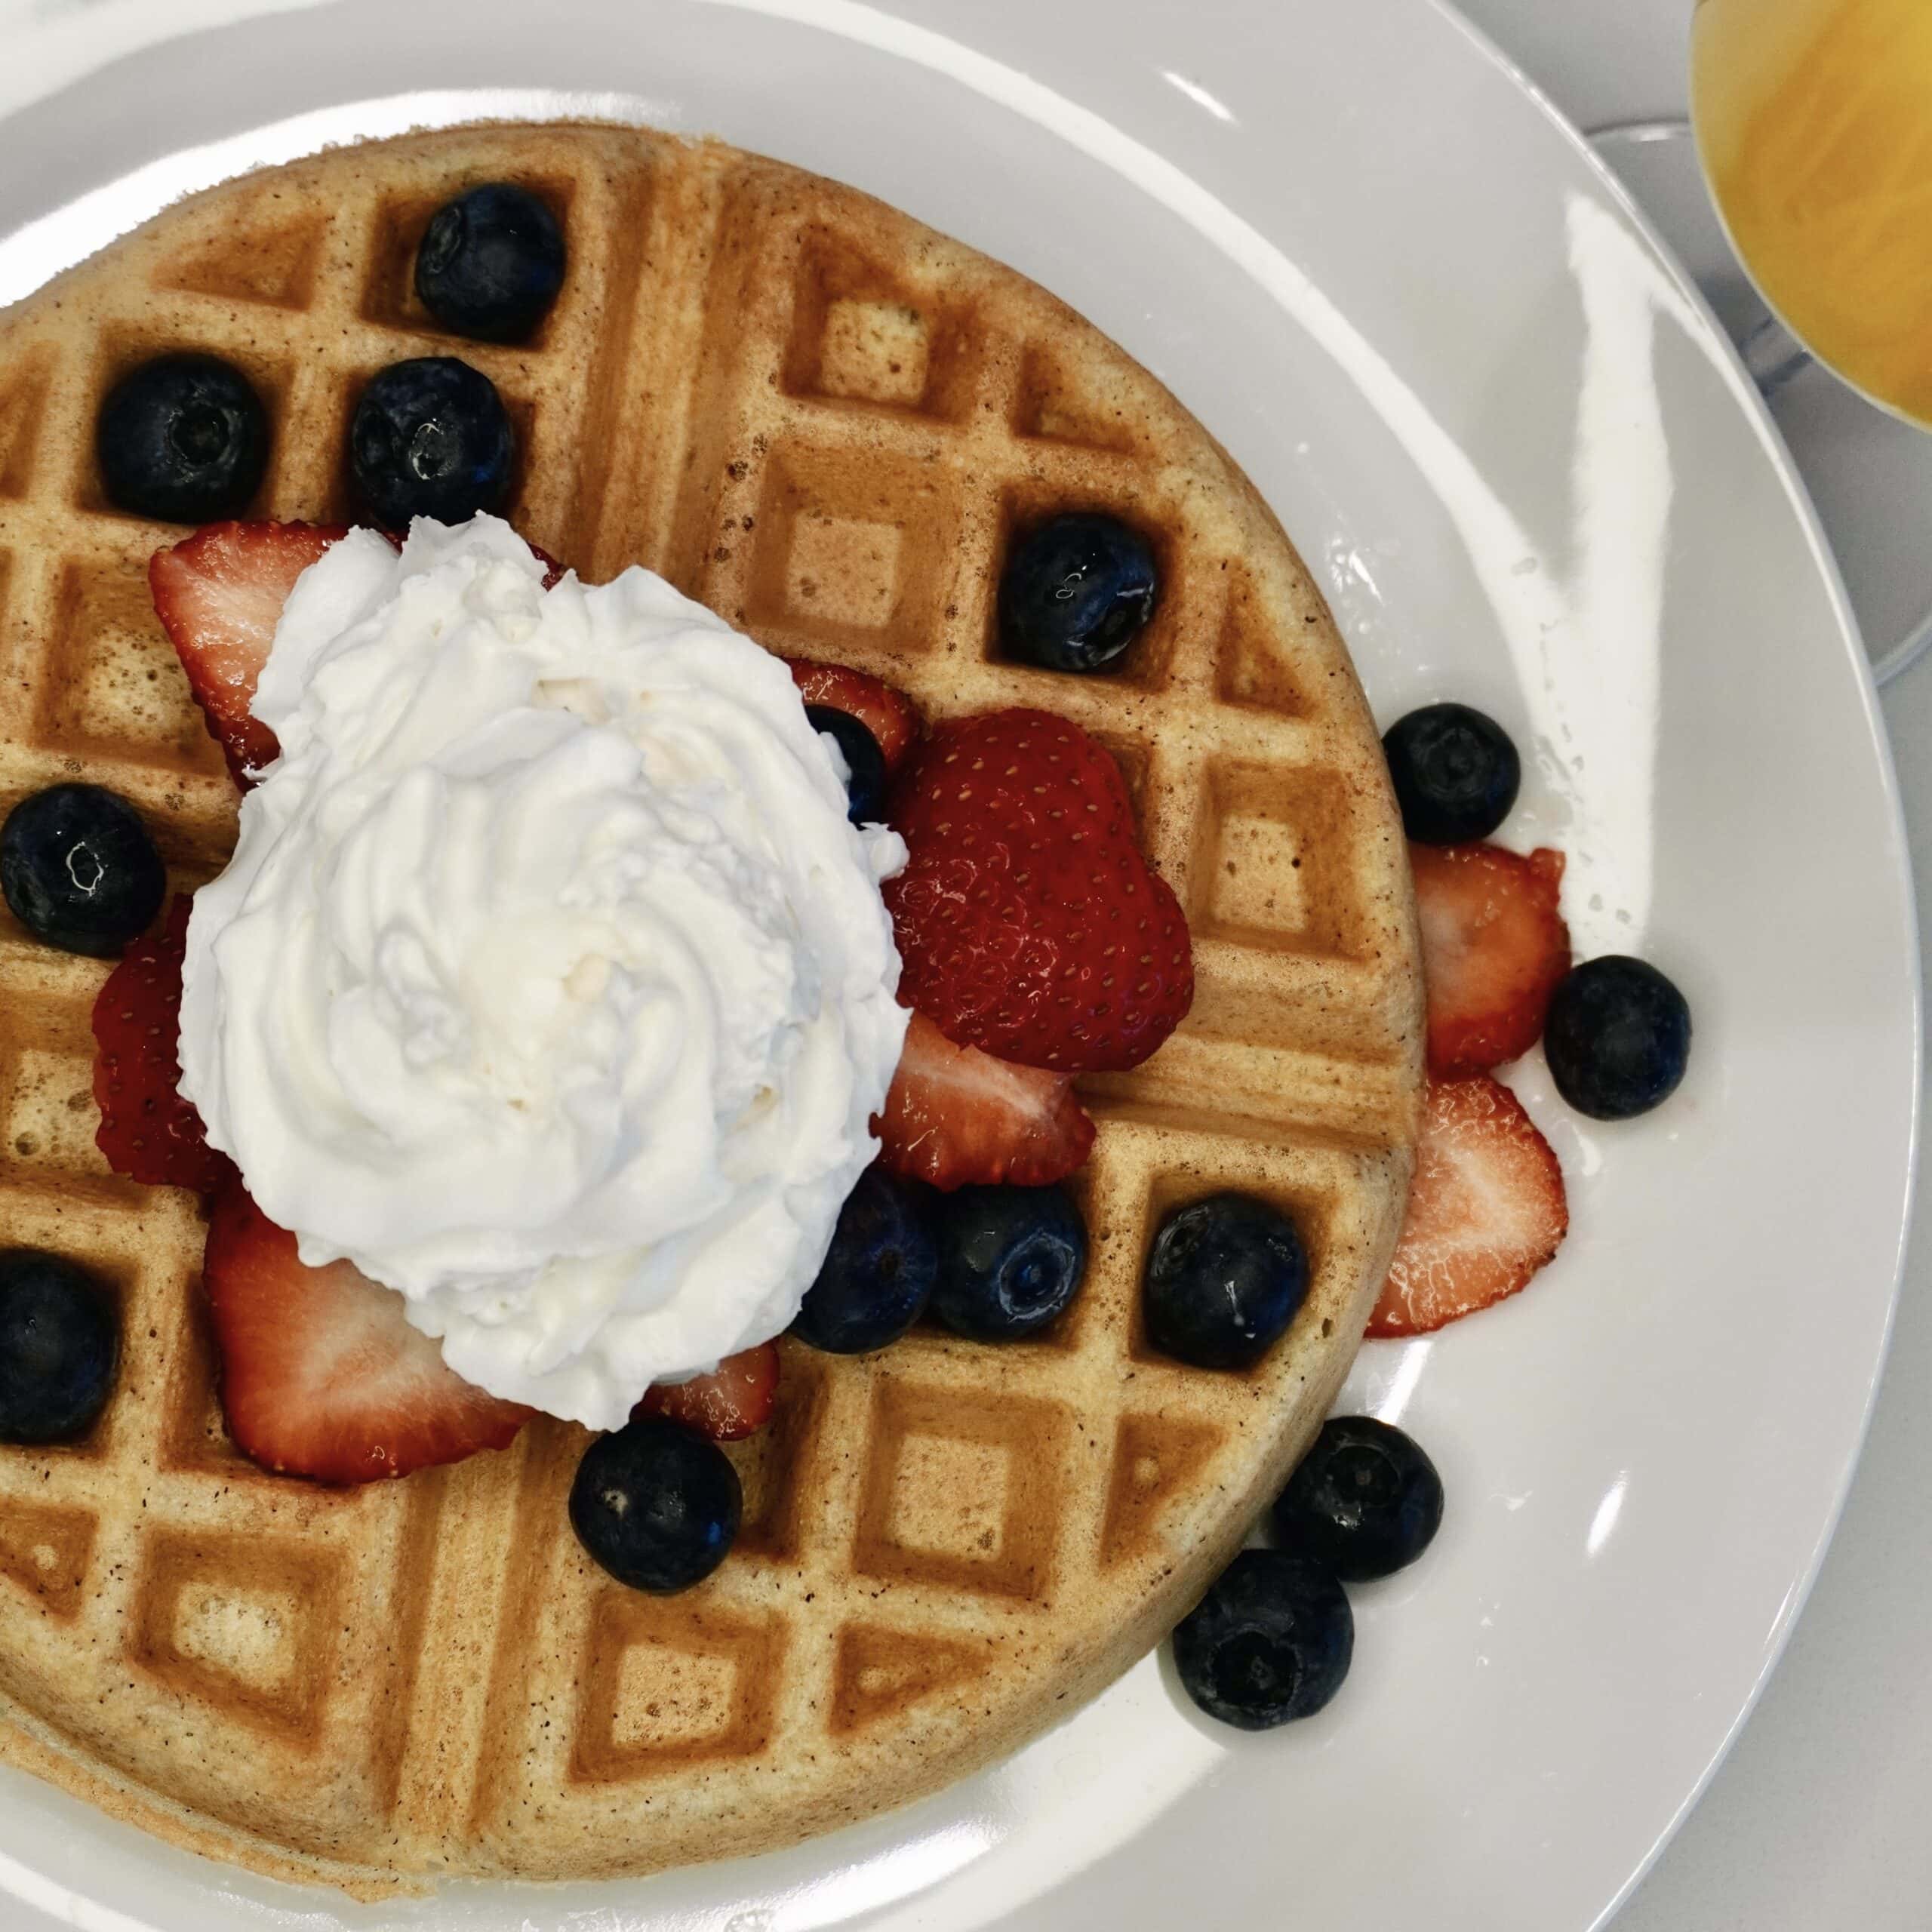
Easy Gluten-Free Waffles
If you want something done right, you gotta do it yourself. At least that’s how I feel when it comes to a proper weekend brunch. And at the heart of my favorite brunch are some giant gluten free waffles.
Whenever I’m cooking I usually try and make most dishes from scratch. As someone who has to deal with a lot of food allergies, I like to know exactly what I’m eating. Even without any food sensitivities, it’s nice to know what you’re consuming. And fresh homemade is always better than frozen store-bought! However, gluten-free waffles are one of my exceptions from making everything from scratch. Even though they are still homemade, I’m not above a good quality shortcut and I’m more than happy for this particular time-saving recipe. In all seriousness though, I’ve bought and tried almost every dairy and gluten free pancake and waffle mix that I can find. I’ve cooked and taste-tested them all with my kids as helpers and by far this recipe below is my favorite.
So here it is! All you need to make quick and easy gluten-free waffles at home in just a few minutes. Of course, you can always substitute the milk ingredients for your preferred choice of on-dairy products.
Easy Gluten-Free Waffles

Ingredients
- 2 cups King Arthurs Gluten-Free Mix
- 2 Tbsp. Buckwheat flour
- 1 cup soy milk (or other non-dairy milk you choose)
- coconut oil to grease the waffle iron
- Step 1. Mix the gluten-free flour mix, buckwheat flour, and soy milk together in a mixing bowl.
- Step 2. Whisk all the ingredients together until you have a smooth pourable batter.
- Step 3. Grease the top and bottom of the preheated waffle iron with coconut oil.
- Step 4. Pour about 1/2 cup to 1 cup of batter on the iron. Close waffle maker and allow to cook until it beeps.
- Remove the waffle and serve hot it with your favorite toppings.

Some of my favorite toppings are almond butter, strawberries, blueberries, raspberries, bananas, whip cream, and of course maple syrup. If you’d like to add some extra protein to your waffles, you can use these protein pancakes recipe for your waffles as well
Freeze and save some for later.
Waffles keep very well in the freezer. So if you like to enjoy waffles more often than just on the weekends, but feel they’re too time-consuming to make on weekdays, there’s a simple solution. Just make extra and freeze them.
Here’s the best way to do that!
- After the waffle is cooked, place it on a baking rack to cool to room temperature. If it’s left on a plate to cool, the steam from the hot waffle will make it soggy.
- Next stack the waffles with a piece of parchment or wax paper between each layer. This will stop the waffles from sticking together and make it easy to separate them once they’re frozen.
- Place the waffles inside a freezer-safe ziplock bag. Try and remove as much air as possible before sealing the bag closed and setting it inside the freezer. The frozen waffles will keep well in the freezer for several months.
- When you’re ready to enjoy your next waffle, simply pop one in the toaster or toaster oven, and you’re good to go!
One more thing that I’d like to mention is that the Cuisinart Double Waffle Iron I have is the best waffle maker I’ve ever owned. Being able to make two perfect waffles at once and in under five minutes is the biggest time saver. They come out perfectly crisp on the outside every time and it’s also an easy clean-up. All these things come in handy. Especially if you are cooking for several people at a time like I usually am.
As always, leave any questions or comments down below. I love to hear from you!
Xx Monti
Shop the Post


